Xdebug is an essential extension for PHP, enhancing debugging and development capabilities. Remember: while it offers powerful tools, do not leave it enabled in production environments.
As of 2026, Xdebug has evolved significantly, now at version 3.5.1, offering improved tools for identifying issues in PHP code. Integrating Xdebug with your preferred IDE can initially seem daunting, but the advantages it provides in debugging far outweigh the setup challenges. With the right environment in place, you can streamline your Joomla! development process effectively.
TL:DR – The added development machine configuration pain is worth it the moment you fix a bug you couldn't see without Xdebug.
Contents
Recent Developments
In 2026, Xdebug introduced Cloud, a Proxy-as-a-Service designed for developers collaborating on a shared development server within a private network, making remote work easier and more efficient. This feature, along with ongoing improvements in debugging tools, solidifies Xdebug's position as an indispensable tool for PHP developers.
Installing Xdebug for Joomla 6
Pre-requisites
For optimal use of these tools, a dedicated computing environment is recommended. Running Xdebug alongside other applications can interfere with your workflow and create security risks, especially regarding open ports. Using a separate machine, such as a modest Linux laptop, can mitigate these issues. A model like the Lenovo ThinkPad X1 Carbon, known for its durability and performance, is an excellent choice for such tasks.
- Linux — Ubuntu 22.04 LTS.
- Apache 2, MariaDB, and PHP 8.2 — The latest LAMP stack.
- Joomla 4.2 — The latest version of the popular Content Management System (CMS).
- Xdebug 3.5.1 — The most recent version of Xdebug, packed with new features.
- VSCodium — The open-source alternative to Visual Studio Code.
Joomla 6.x on Linux
While I prefer Ubuntu for its stability and support, any modern Linux distribution will suffice. Follow established guidelines for installing the LAMP stack. Here’s a summary of the installation process:
- Install Ubuntu 22.04, optionally with a valid domain name for SSL.
- Install Apache2, MariaDB, and PHP.
- Create a MariaDB SQL Database for Joomla.
- Download and install Joomla 6.x.
- Configure Apache 2 with a
VirtualHostfor Joomla and enable it. - Optionally set up Let's Encrypt SSL for secure connections.
- Complete the Joomla installation in your browser.
- Install sample data if desired.
- Replace the
php.iniwith the development version for your PHP version.
You can read a fuller guide in this article Installing Joomla 5 on Ubuntu Desktop 24.04 LTS
Let's Encrypt
Development Version of php.ini
To leverage Xdebug effectively, you need the development version of php.ini. You can find the correct php.ini-development file from the relevant PHP branch and download it. Update your configuration files at /etc/php/8.2/apache2/php.ini and /etc/php/8.2/cli/php.ini accordingly, and restart Apache using sudo systemctl restart apache2.
Xdebug Installation Wizard
The Xdebug Installation Wizard simplifies the installation process. Paste the output from phpinfo() into the wizard, and it will generate tailored installation instructions for your environment.
For instance, if you run the wizard, it will provide instructions like these:
- Xdebug installed: 3.5.1
- Server API: Command Line Interface
- PHP Version: 8.2
- Configuration File Path: /etc/php/8.2/cli
- Extensions directory: /usr/lib/php/20220829
Follow the wizard-generated instructions to complete your installation.
Xdebug INI Parameters
Once Xdebug is installed, you need to configure some parameters in your php.ini or a separate xdebug.ini file. Check if Xdebug is referenced in your php.ini using php -i | grep xdebug. If it is, edit the relevant file to include parameters that enable communication between Xdebug and your IDE. Ensure there is only one Xdebug section with a single reference to the zend_extension:
zend_extension = /usr/lib/php/20220829/xdebug.so
xdebug.mode = debug
xdebug.start_with_request = yes
xdebug.discover_client_host = true
xdebug.var_display_max_depth = 10
xdebuginfo.php
Create an xdebuginfo.php file, similar to a phpinfo.php page, to check your Xdebug settings:
<?php
// Show Xdebug info
xdebug_info();
?>
Doing More with Xdebug — with VSCodium
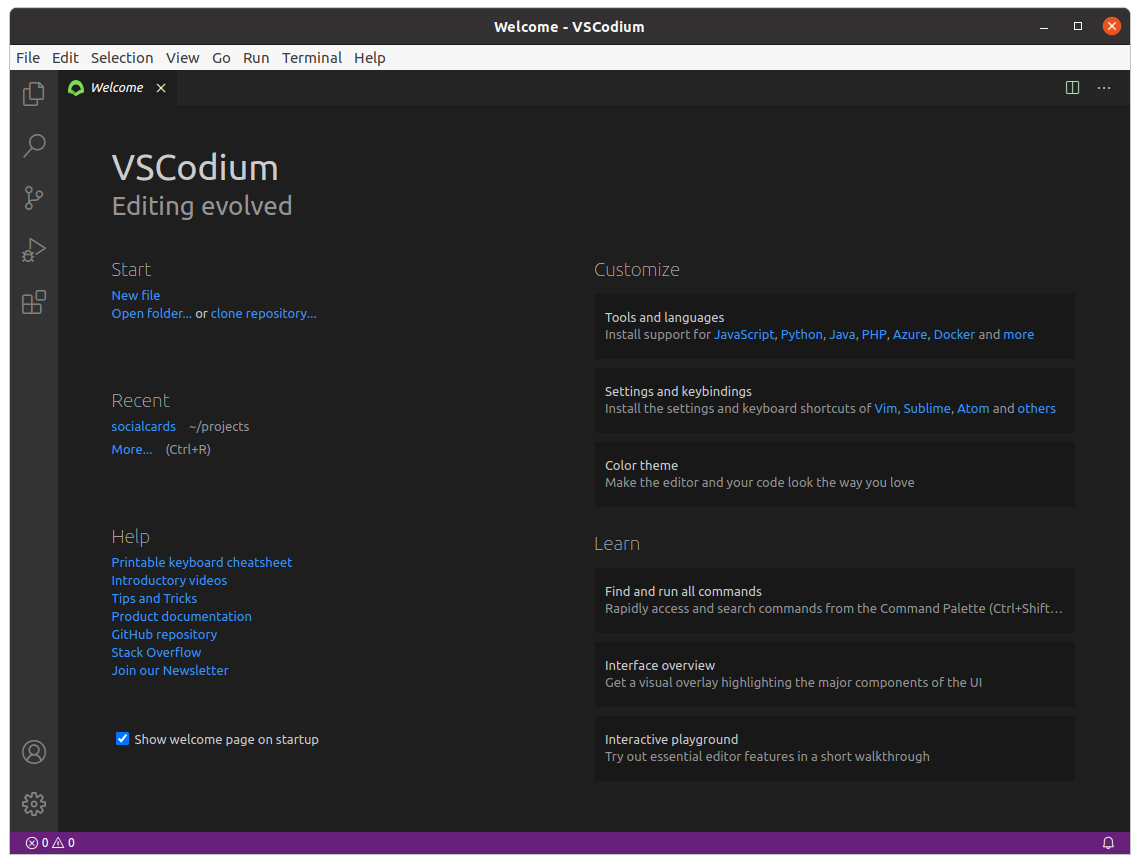
Xdebug integrates seamlessly with various editors and IDEs, enhancing debugging capabilities. While I previously struggled to integrate it with Sublime Text and VIM, VSCodium offers a straightforward setup that allows for robust debugging. This open-source alternative to Visual Studio Code provides all the functionality without any telemetry.
Installing VSCodium is simple, especially for Ubuntu users, as it has a repository that allows for easy updates via apt update. For installation instructions, visit the VSCodium homepage and follow the guide for Debian/Ubuntu.

Conclusion
Setting up VSCodium with Xdebug requires careful attention to detail, particularly with dependencies and port configurations. While it may take time to configure correctly, the payoff in productivity and debugging efficiency is worth the effort.